The PITA (Pain In The Ass) box is a fun/funny vessel to give a gift of cash, etc. The premise is that the box must be taken to one or more pre-defined (by me in the code) GPS locations before mechanically unlocking itself.
The first PITA box, crammed into a water bottle so all it’s guts and glory are visible. Note the flickering screen is an artifact of the video recording process. In real life the screen does not display such artifacts.
Because it’s based on the ESP8266 module, the PITA box offers a WiFi access point in order to connect and control the device. Once the “game” has ended, instructions are given on connecting and resetting the box.
I’ve made two of them so far, each one in a very different container. The bottle was version 0, and this box version 1:
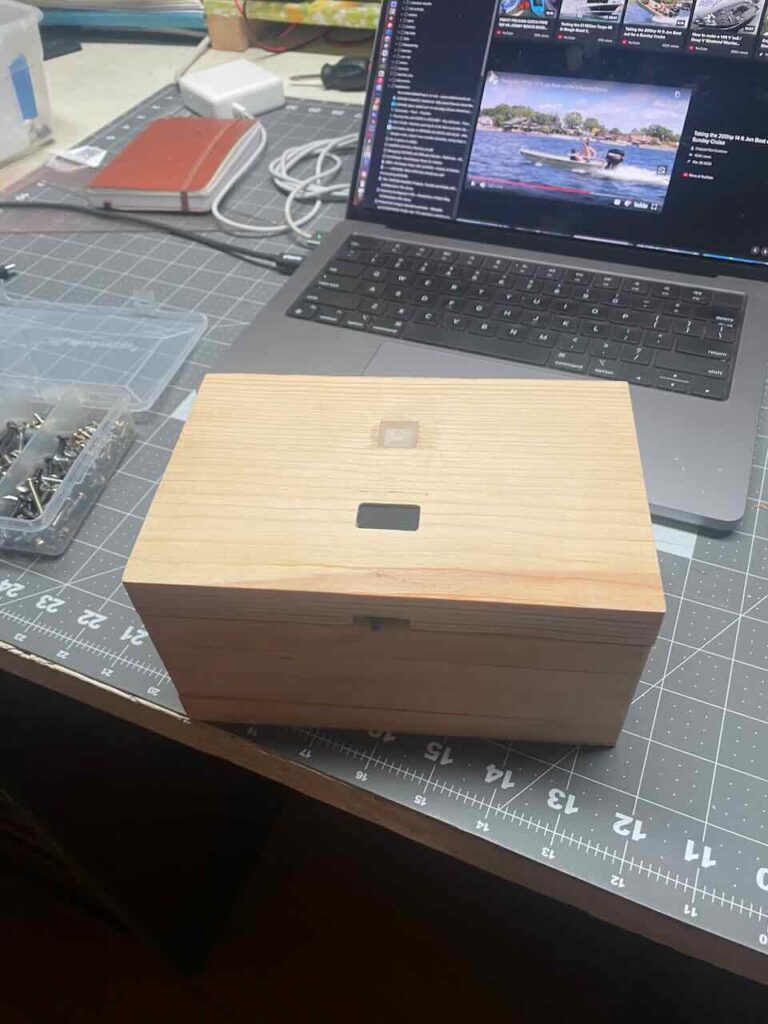
The top of this PITA box sports a small screen and the GPS antenna
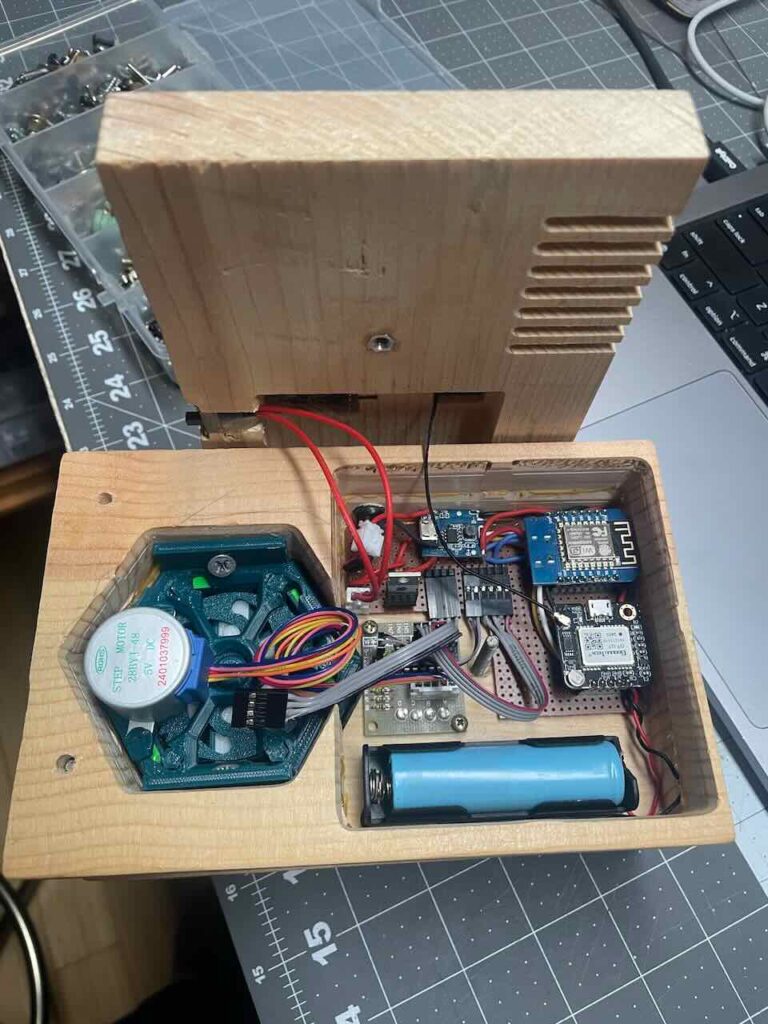
Inside is the madness of the device, including a ESP8266 MCU, GPS module, motor controller, Li-Ion battery management system (BMS) and mechanical puzzle housing with stepper motor attached.
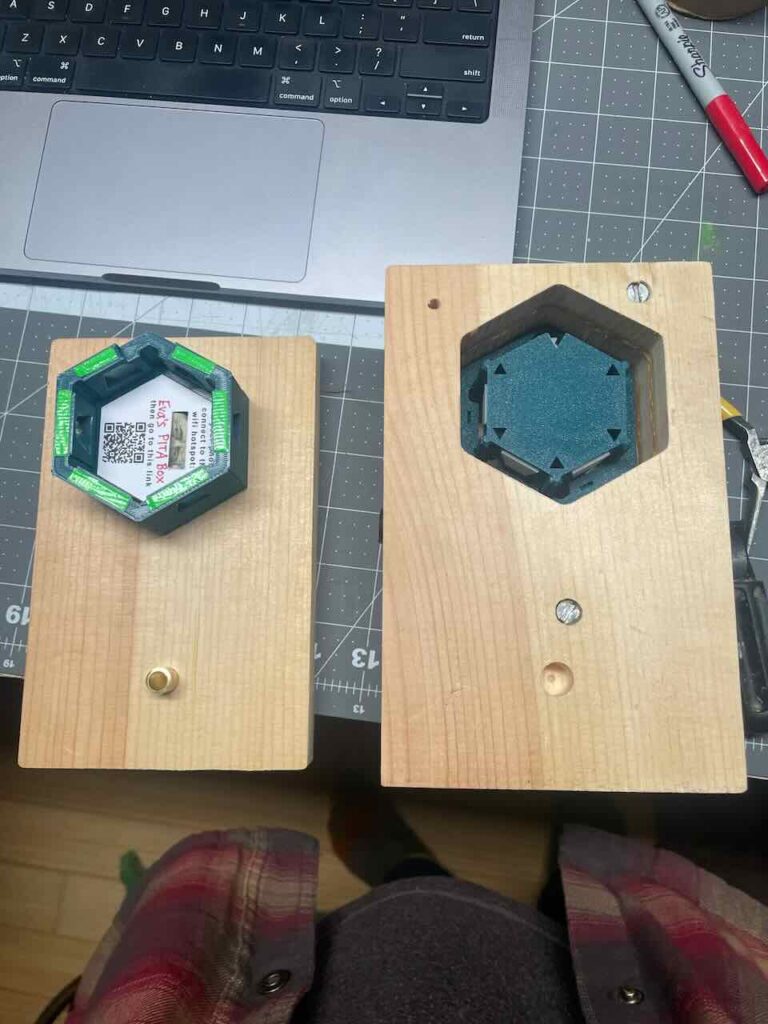
And here is the bottom with the “payload” exposed.
The next PITA box will possibly be built with a simpler lock/unlocking system and a single board PCB. Stay tuned!

